| |
|
|
| |
In the realm of audio production, achieving seamless transitions between clips is an art form unto itself. One of the most powerful tools in an audio engineer's arsenal is the artful application of fade in and fade out effects. These techniques, characterized by a gradual increase or decrease in the level of an audio signal, can transform a simple audio clip into a dynamic auditory experience.
Fade effects come in two primary forms: the fade-out, where the audio gradually decreases into silence at its end, and the fade-in, where the sound begins with silence and increases to full volume gradually. These effects are not only essential for crafting polished opening and ending parts but also for ensuring a smooth listening experience throughout the entirety of a piece.
One of the most common software tools used to apply fade effects is Dexster Audio Editor. Here's a step-by-step guide on how to use it: |
| |
| 1. Download and Install Dexster Audio Editor |
| Begin by downloading the Dexster Audio Editor software here and following the setup instructions to install it on your computer. Once installed, double click on the Dexster Audio Editor icon on your desktop to run the program. |
|
 |
| |
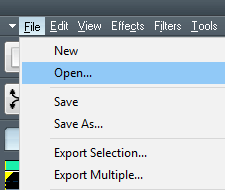
| 2. Open Your Audio File |
| Click on the File menu within Dexster Audio Editor and select Open. Choose the audio file to which you'd like to apply fading effects. Dexster supports various audio formats including MP3, M4A, FLAC, OGG, WMA, and AAC. |
 |
| |
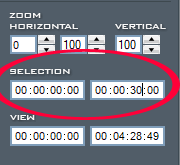
| 3. Set Start and End Time |
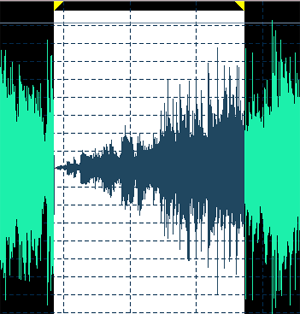
| Once your audio file is loaded into the editing waveform, determine the start and end times where you want to apply the fade effects. Enter these times in the designated fields on the right panel, under the selection area. |
 |
| |
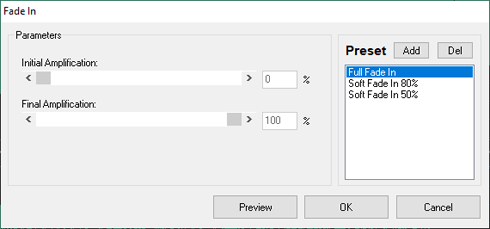
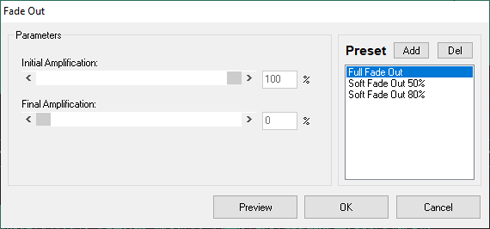
| 4. Select Fading Effects |
| With the start and end times selected on the waveform, navigate to the Effects menu, then choose Fade. Select "Fade In" to apply a gradual increase in volume from silence or "Fade Out" to gradually decrease the volume to silence. |
 |
| |
 |
| |
| 5. Process and Apply Fading Effects |
| Dexster will then process and apply the selected fading effects to your audio file. |
 |
| |
| 6. Preview and Save |
| Once the fading effects are applied, use the play button on the toolbar to preview the changes. If satisfied, click on the Save button to save the edited audio file with the fading effects intact. |
| |
| |
| By mastering the art of fade in and fade out effects, you can elevate your audio productions to new heights, creating a seamless and immersive listening experience for your audience. Whether it's for podcasts, music tracks, or film soundtracks, these techniques are indispensable tools in the audio engineer's toolkit. With Dexster Audio Editor and a bit of creativity, the possibilities are endless. |
| |
|
|
|
| |
|
| |
| |
|
| |
 |
Dexster Audio Editor |
| Price: USD 45 |
| for Windows 7, 8, 10, 11 |
| |
 |
 |
| |
|
|
| |
